BMW E36 Valentine One (V1) Stealth Install
BMW E36 Valentine One (V1) Stealth Install
Do you have a radar detector but don't like how it looks sitting on your dash or visor? Maybe you live in a location where radar detectors are illegal? Well, here is a little write-up I did for a stealth install of my radar detector.
DISCLAIMER: This modification is to be followed and used at the sole risk of the individual performing it. When performing any modifications, there will always be the risk of damage to the car. MODIFY AT YOUR OWN RISK. Read the procedure carefully and be sure that you feel comfortable with the modification before you begin. Now on to the fun stuff!!
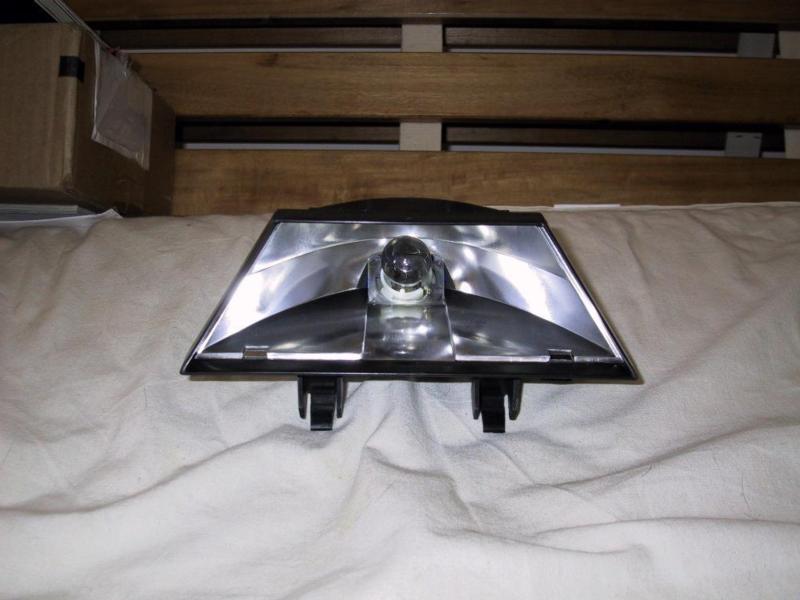
3rd Brake Light Housing (Front): A frontal view of the 3rd brake light housing with the red lense removed prior to any cuts. The bulb is still in place. In order to remove the 3rd brake light housing, you must first remove the rear deck. I did not take pictures of the rear deck removal, but it is pretty straight forward as long as you are careful. Be sure to use latex gloves when handling the rear deck to prevent finger oils from getting on the surface (they don't come out!). Be sure to disconnect the electrical harness to the bulb. It will be pretty obvious when you get the rear deck out.
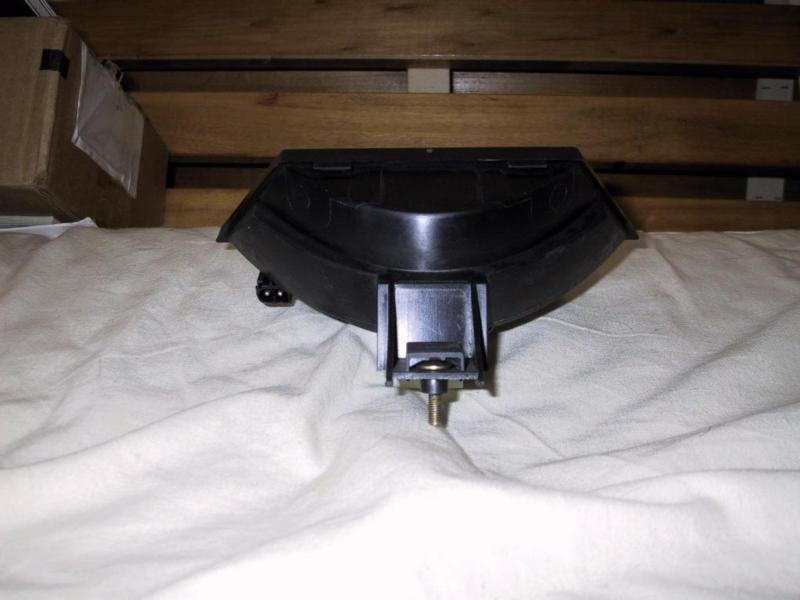
3rd Brake Light Housing (Rear): Here is another view of the brake light housing from the rear. Once the rear deck is out, the 3rd brake light housing is held in place by a single screw. You can see that screw in this picture here. All of the cuts that will be made will be done from the back of the housing.
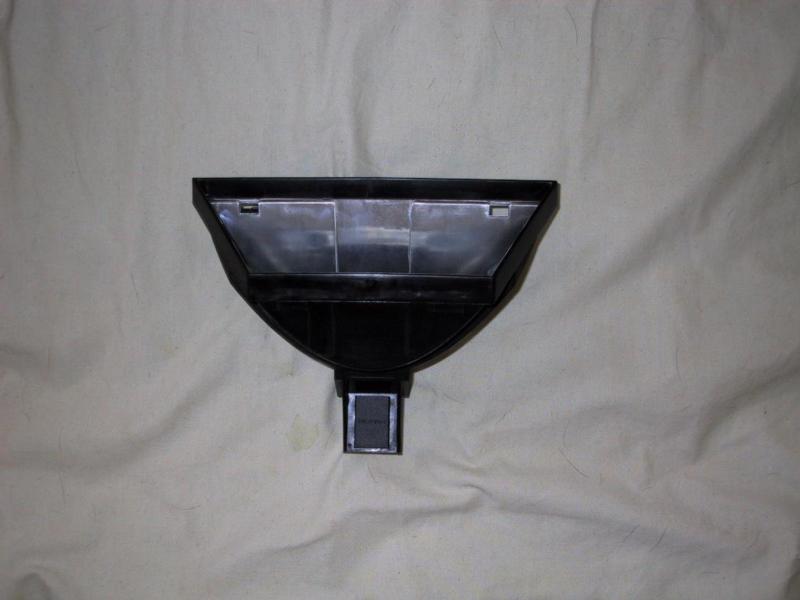
3rd Brake Light Housing (Top): Here is a top view of the brake light housing prior to cutting.
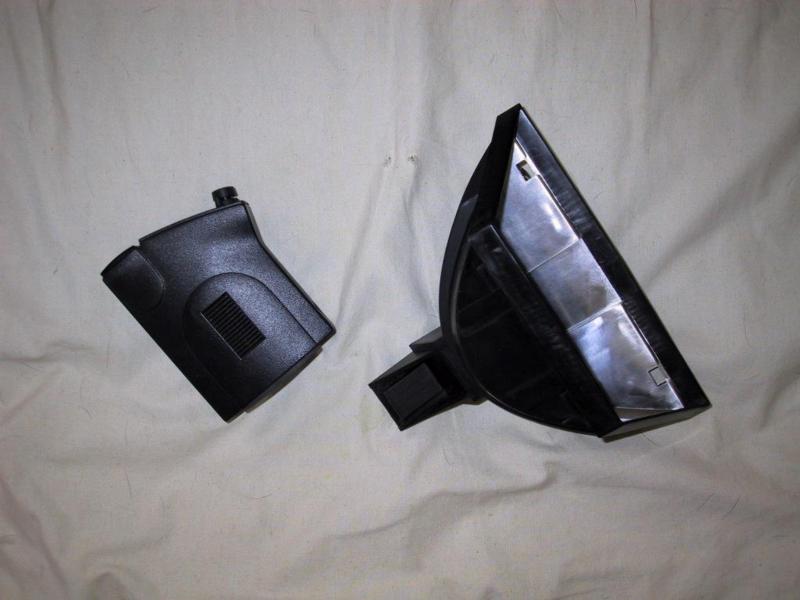
V1 and 3rd Brake Light Housing: A side by side view of the brake light housing and the V1 for size comparison. As a side note, my V1 is an older model (I purchased it back in '95) and is slightly larger than the newer models. Remember this when making your cuts.
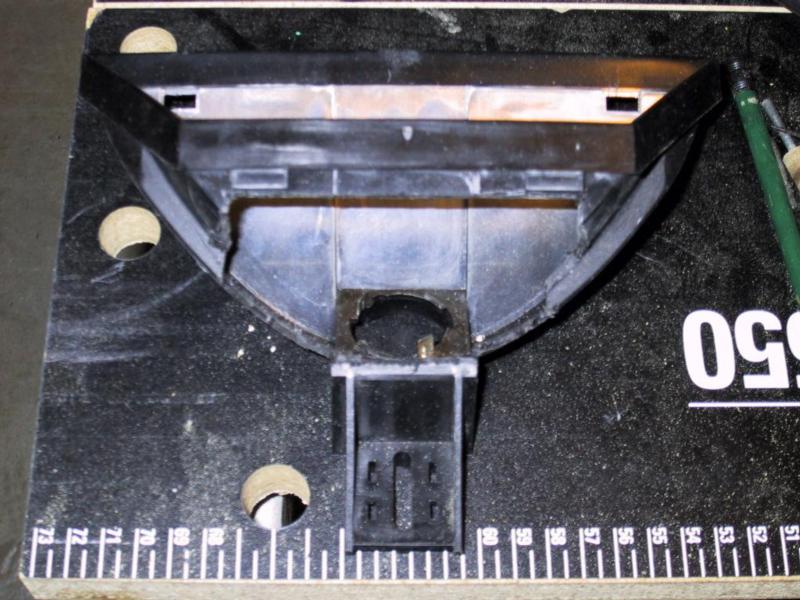
Cut 3rd Brake Light Housing: Here is a top view of the brake light housing after all cuts have been made. I used a Dremel tool to make the cuts to the housing. Make sure you start with a small opening. Check for proper fit of the V1 after each cut. You don't want to make the hole too big!
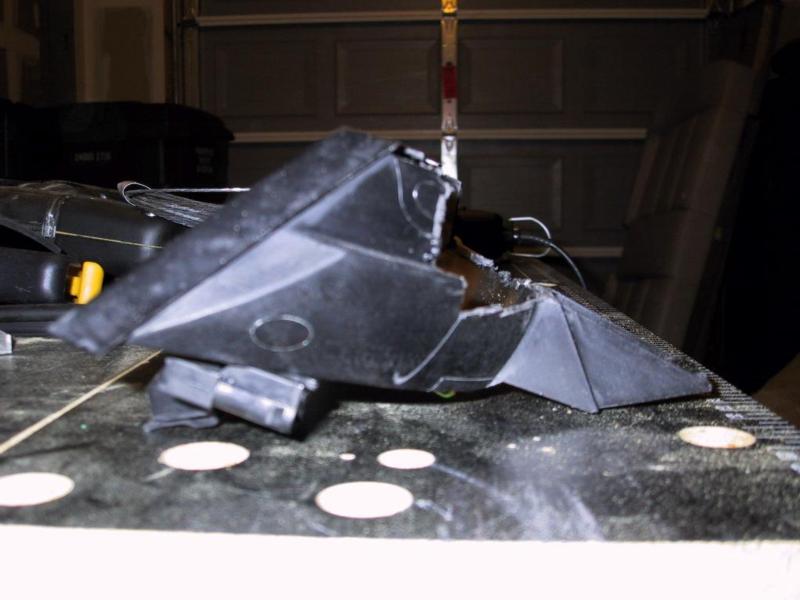
Side View of Cut Brake Light Housing: A side view of the brake light housing after all cuts have been made. Again, start with a small opening and check for proper fit frequently.
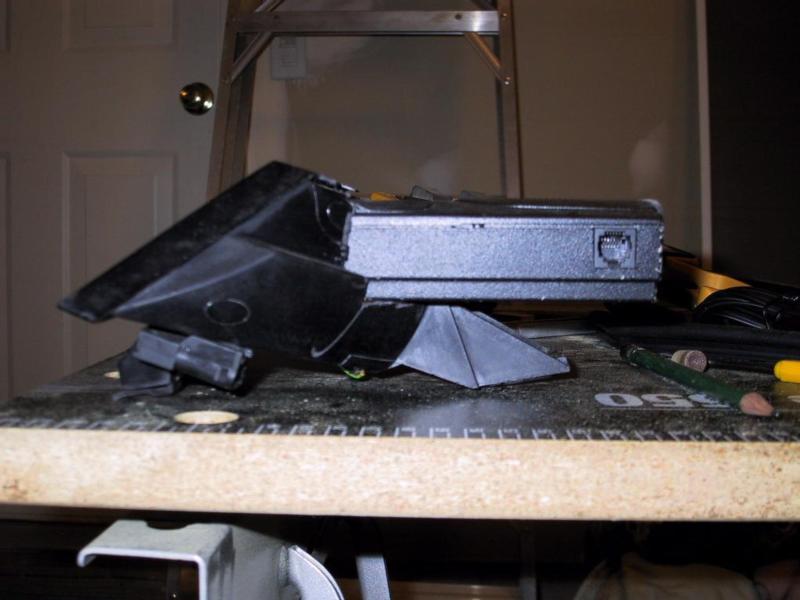
Side View of Brake Light Housing with V1: This is a view of what the V1 will look like when installed in the brake light housing. This is for illustration purposes since the V1 will be installed in the housing after the brake light housing has been installed back in the car.
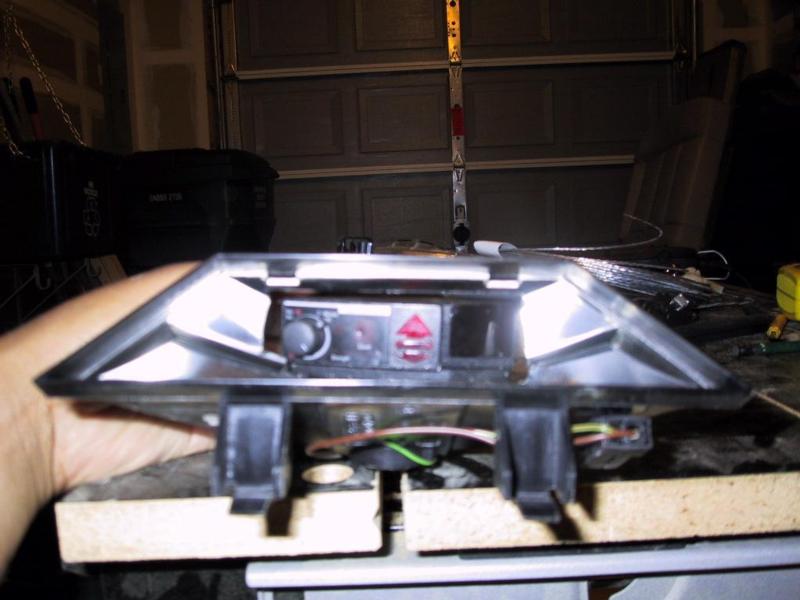
Rear View of Brake Light Housing with V1: Another view of the V1 installed inside the brake light housing when looking from the rear, again for illustration purposes.
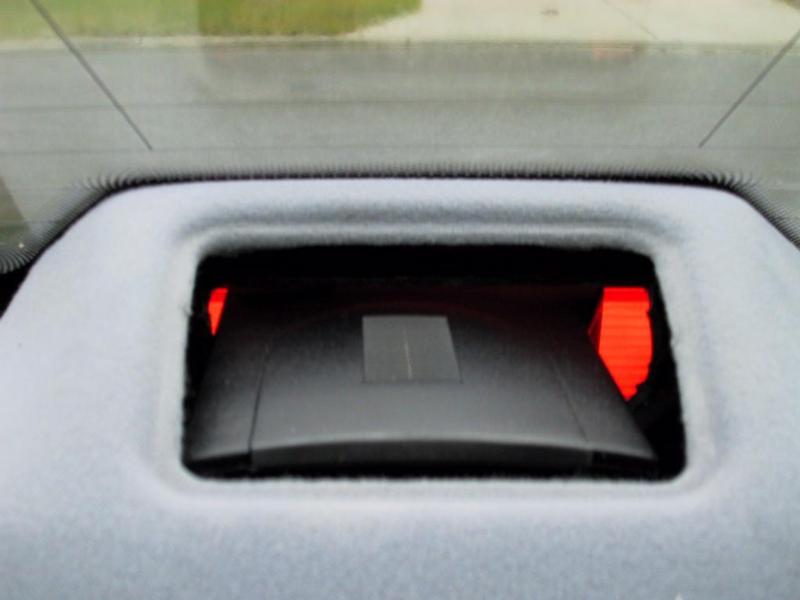
Final Installation: This is a view of the final installation of the V1 from inside the car. If you were able to get everything out, you should be able to put it back together. Remember to use those latex gloves when handling the rear deck. In order to make the V1 sit level in the housing, I used a sponge (cut in half) to support the front of the V1. The plastic grill is then replaced for a completely hidden installation. Notice also that the V1 can be removed if desired. Operation of the 3rd brake light was retained by using a miniature bulb. You can find them at your local auto parts store (be sure to take your old bulb with you to the store to ensure you get the right socket size).
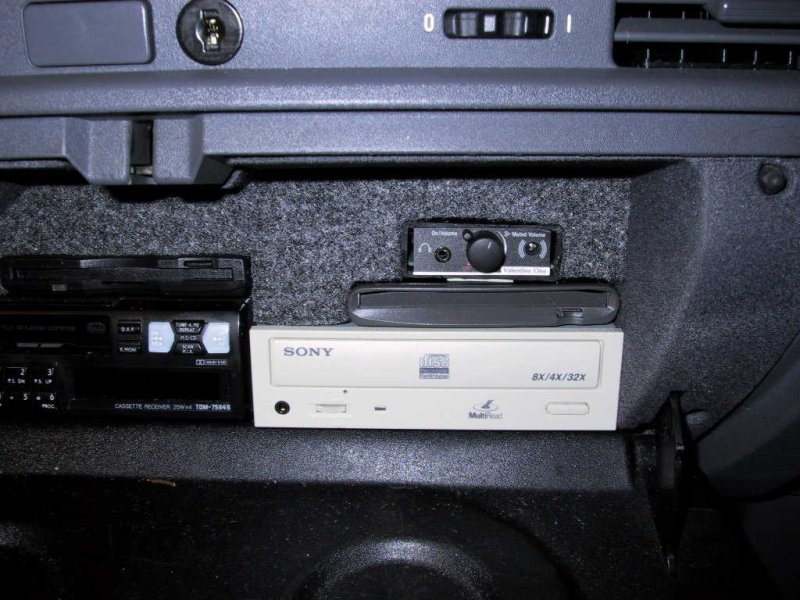
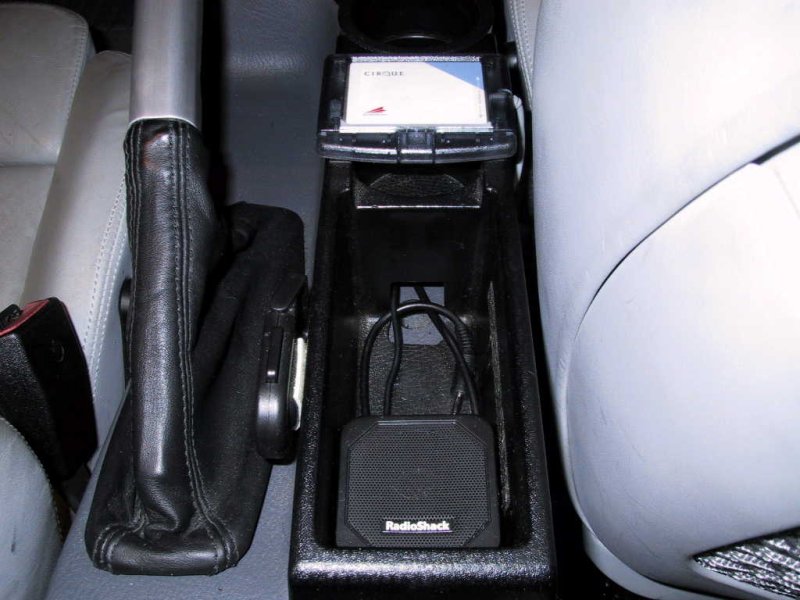
As far as wiring goes, the V1 was hardwired, per the V1 instructions using the Hardwire Adapter that comes with the V1. I also used the Remote Audio Adapter, which you see here mounted in the glove box, to control the volume and the Remote Display Module as a visual display. Since the Remote Audio Adapter was installed inside the glove box, I mounted a small speaker from Radio Shack in the center console. All items, with the exception of the speaker from Radio Shack, can be purchased directly from Valentine.
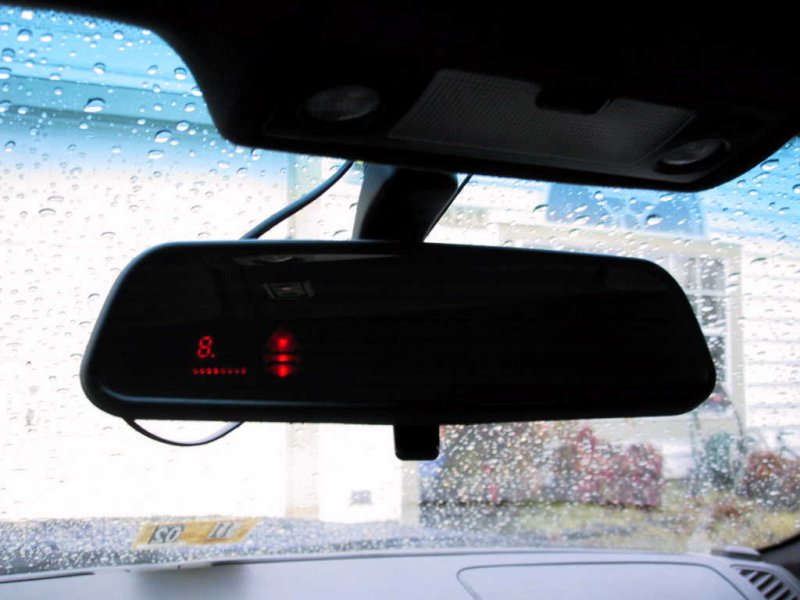
The Finishing Touch: You can mount the Remote Display in just about any location that is visible to the driver. Some have mounted it just in front of the instrument cluster, below the OBC or you could wedge the display between the roof of the car and the passenger side sun visor (that was a temporary spot for me). But for true stealth, I used the InV1si Mirror created by Jim Powell. As you can see in the picture, it really is the finishing touch!
A Word On V1 Performance........: Since I have done this mod, many people have asked me: "Is the radar and laser performance degraded when the V1 is in the 3rd Brake Light Housing?" Well, here is a short answer. Since laser works by direct line of sight, you will lose laser detection since the laser detector of the V1 is physically blocked by the rear deck. Laser light can't penetrate the rear deck. Radar, on the other hand, is a different story. Radar will penetrate just about anything that is non-metallic. In other words, the radar signal coming from a police radar gun (or any other radar source) will penetrate the cardboard-like material of the rear deck and the red plastic cover of the break light housing. My V1 performed just as well and with the same range in the 3rd brake light housing as it did when it was sitting on my dash. Just in case you are wondering if I gave up on laser detection completely, I didn't. Laser detection, and jamming, is taken care of by the Blinder M-10 laser jammer.
About The Author
jmciver
Original site at:
http://www.vb.quik.com/jmciver/pages/v1.htm
